

How to Draw Northern Lights With Colored Pencils
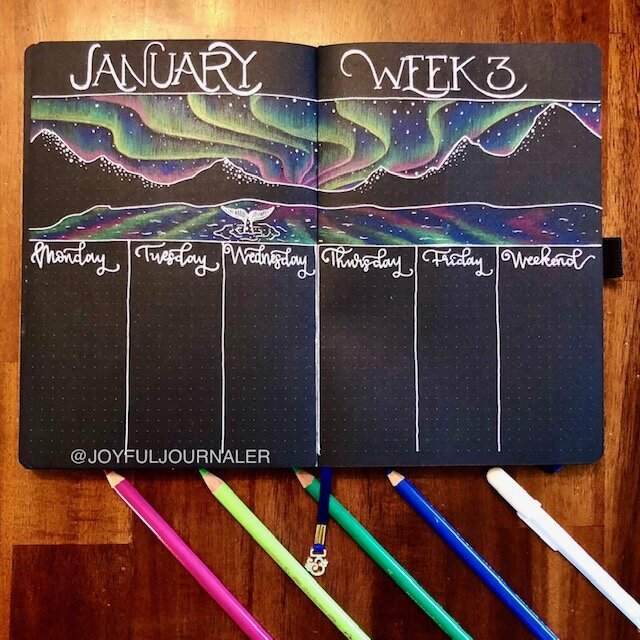
It’s here! The step-by-step on how I created the Northern Lights in my bullet journal set up. This was one of my most requested how-tos this month and I wanted to bring it to you.
In this post I will show you start to finish on how to create this simple illustration that you too can create!
Materials
Here is a list of materials I used to create this spread:
**Disclaimer: This post contains affiliate links. I do earn a small commission from any purchase made through the links I provide. Thank you for supporting me and my family!
Archer & Olive Blackout journal - You can purchase on here. Use code HOLLY10 for 10% off! *Affiliate Link
White Gelly Roll pen from Sakura - You can find these in my Amazon store here. *Affiliate Link
Prismacolor Colored Pencils - You can find these in my Amazon store under “Journaling Supplies,” here. *Affiliate Link
That’s all you need! Really simple right? Now let’s get into the steps…
Step 1: Draw a Simple Draft
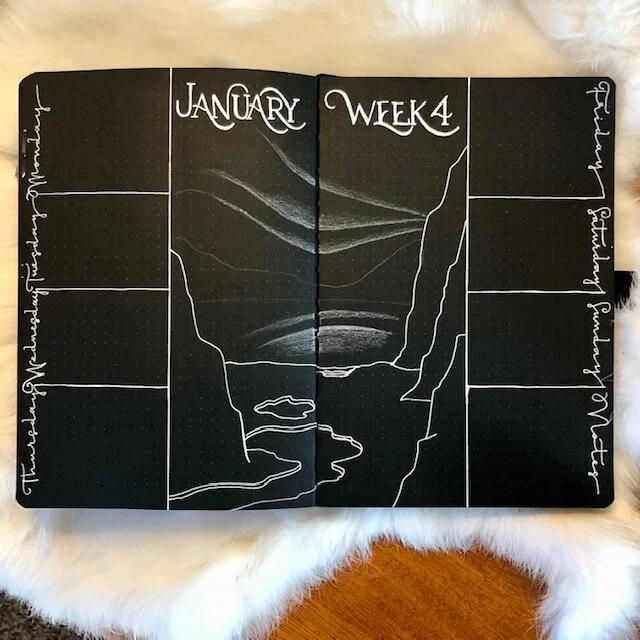
Start with a simple sketch of the landscape you have in mind.
I used a white gel pen to outline the pieces I wanted to stand out.
Next, I used a white colored pencil to lightly shade in where I wanted my bright colors to be.
You can choose any color combination you like! I looked up reference photos of the Northern Lights to get inspiration of a color pallet I wanted to use.
Step 2: Add Darkest Colors First

I started with a dark blue and shaded with upward strokes. The darker color being laid down first will help the lighter/brighter colors stand out and give a nice pop!
I do not add the dark blue anywhere I will actually be coloring the light colors. Just above or below those spaces.
Step 3: Adding the Lighter Colors

After the dark blue is where you want it, it’s time to add the lighter color!
I used a bright green and started shading with medium pressure over the areas I shaded white*.
*If you are doing this on white paper, you do not have to lay white down! The white layer is to help the colors stand out on the black paper.
Use upward, short strokes. This will give the appearance of the light fading up into the sky like you see in the real northern lights.
Step 4: Add Finishing Touches
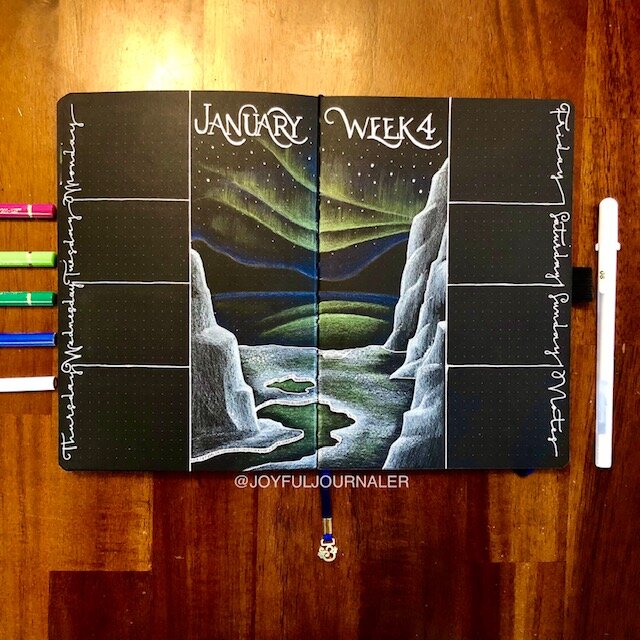
For the final touches, you can add a third color if you desire. I did add a touch of pink to a few areas because the reference picture I used had it… Plus, I love pink!
It’s your picture so you can make it however you want!
Once the color was the way I wanted it, I added little dots in the darkest spots for stars. (You don’t have to do this part, but I felt it tied everything together nicely on the black paper.)

I hope you found this step-by-step helpful! It’s really simple and fun to do. The best part is you really can’t mess it up because the Northern Lights are all unique, never the same, and beautiful no matter what!
If you have any questions about this process, please let me know! I’m here to help you achieve your creations if I can.

The sky is the limit! If you try it out, I’d love to see it! Send me a photo in the contact me tab, or visit me on any of my social media platforms. Buttons for direct access are at the bottom of your screen.
Thanks for stopping by today! Come back anytime for new inspiration, or follow me for daily posts on my other platforms.
Have a blessed day Lovely!
Love, Holly