Easy DIY Planner Tabs for Your Bullet Journal

Do you use a bullet journal for planning? I love my bullet journals, but sometimes the lack of page organization is problematic when there are no tabs! I found two great ways to create my own planner tabs that have tremendously helped in my monthly setups. If you are looking for the same improvement in your bullet journal, I know this post will be a real gem for you!
Materials to Help You Make Your Planner Tabs
There are only a few items I use to achieve pretty planner tabs in my journal. You will most likely already have these on hand, which is a great bonus!
Materials for Planner Tabs number one:
Pencil
Sharp scissors
Materials for Planner tabs number two:
Washi tape
See? That’s all you need to create two different types of planner tabs. This will be so easy. I bet you will want to try it out as soon as you see how to make them! Shall we get into the steps?
How to Create Planner Tabs Step-by-Step
This method works great for those who like to have their entire month setup done before the month even starts. If you plan out your weekly spreads ahead of time, I think you will like these tabs!
These tabs do not stick out the side of your bullet journal, so they will not get caught on things and potentially rip out! Huge bonus as far as planner tabs go.
Looking for weekly spread ideas? Head over to this post: “29 Inspiring Weekly Spreads for Your Bullet Journal.”
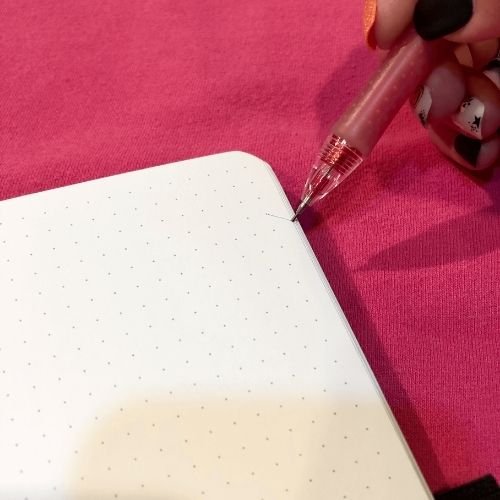
Step 1: Sketch Out Your Tab Layout
The first thing you need to do is decide where your tabs are going to go. (Do this first before sketching your weekly spread, so you do not accidentally cut off part of your design. Note that this does shorten the width of the pages.)
I start by sketching my tabs on the right side of the pages to have the best view of them. For example, in an A5 bullet journal, I start my first tab on the fourth bullet down from the top. I like to have diagonal slants on my tabs, so I draw a downward slant from the fourth bullet to the edge of the page.
Next, I count down eight bullets. From the eighth bullet, I will draw an upward diagonal to finish the shape of the tab. That is your first tab sketched out! Easy right?

Now we will turn to the next page and create our second tab.
The second tab will start on the eleventh bullet down from the top. Create this tab the same way you did on the first page. (Each tab is 8 bullets in measurement. Feel free to change the size of the tabs to fit your needs and style.)
Continue this process for the following two pages. Finally, for an easy guide to help you, here are the following two measurements for the last two tabs.
Page three: Start your tab on the eighteenth bullet down from the top.
Page four: Start your tab on the twenty-fifth bullet down from the top.
This will finish out your tab sketches. After that, you can look at them by spreading out the pages. Make sure you like where the tabs are placed because there is no going back once you cut the pages!
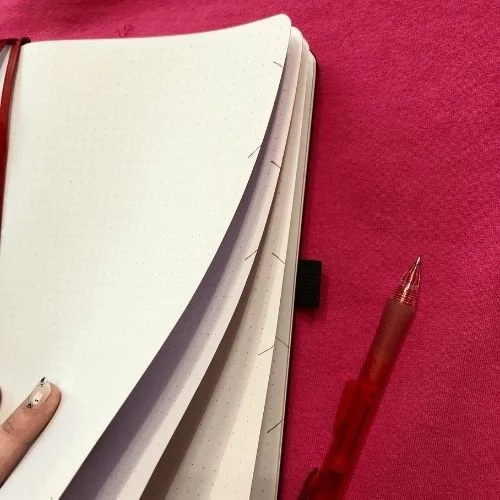
Step 2: Cut Your Planner Tabs
This is the easy part now that you have your tabs in place.
Start with the first page and cut along the dotted line stopping at the tab on both sides. Then, you will cut on the diagonal lines you created to finish cutting out your tab.
Repeat this on all four pages.
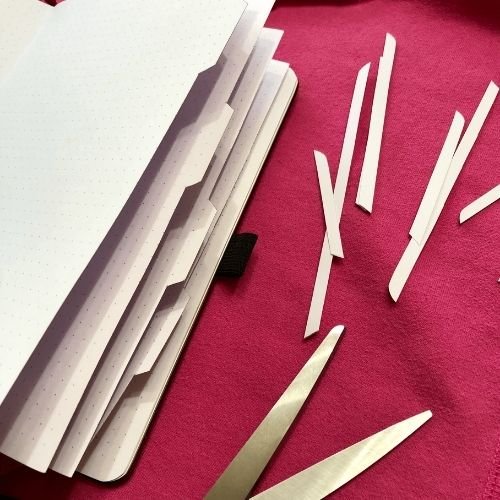
Now, you should see all four tabs beautifully lined up next to each other! You did it!!
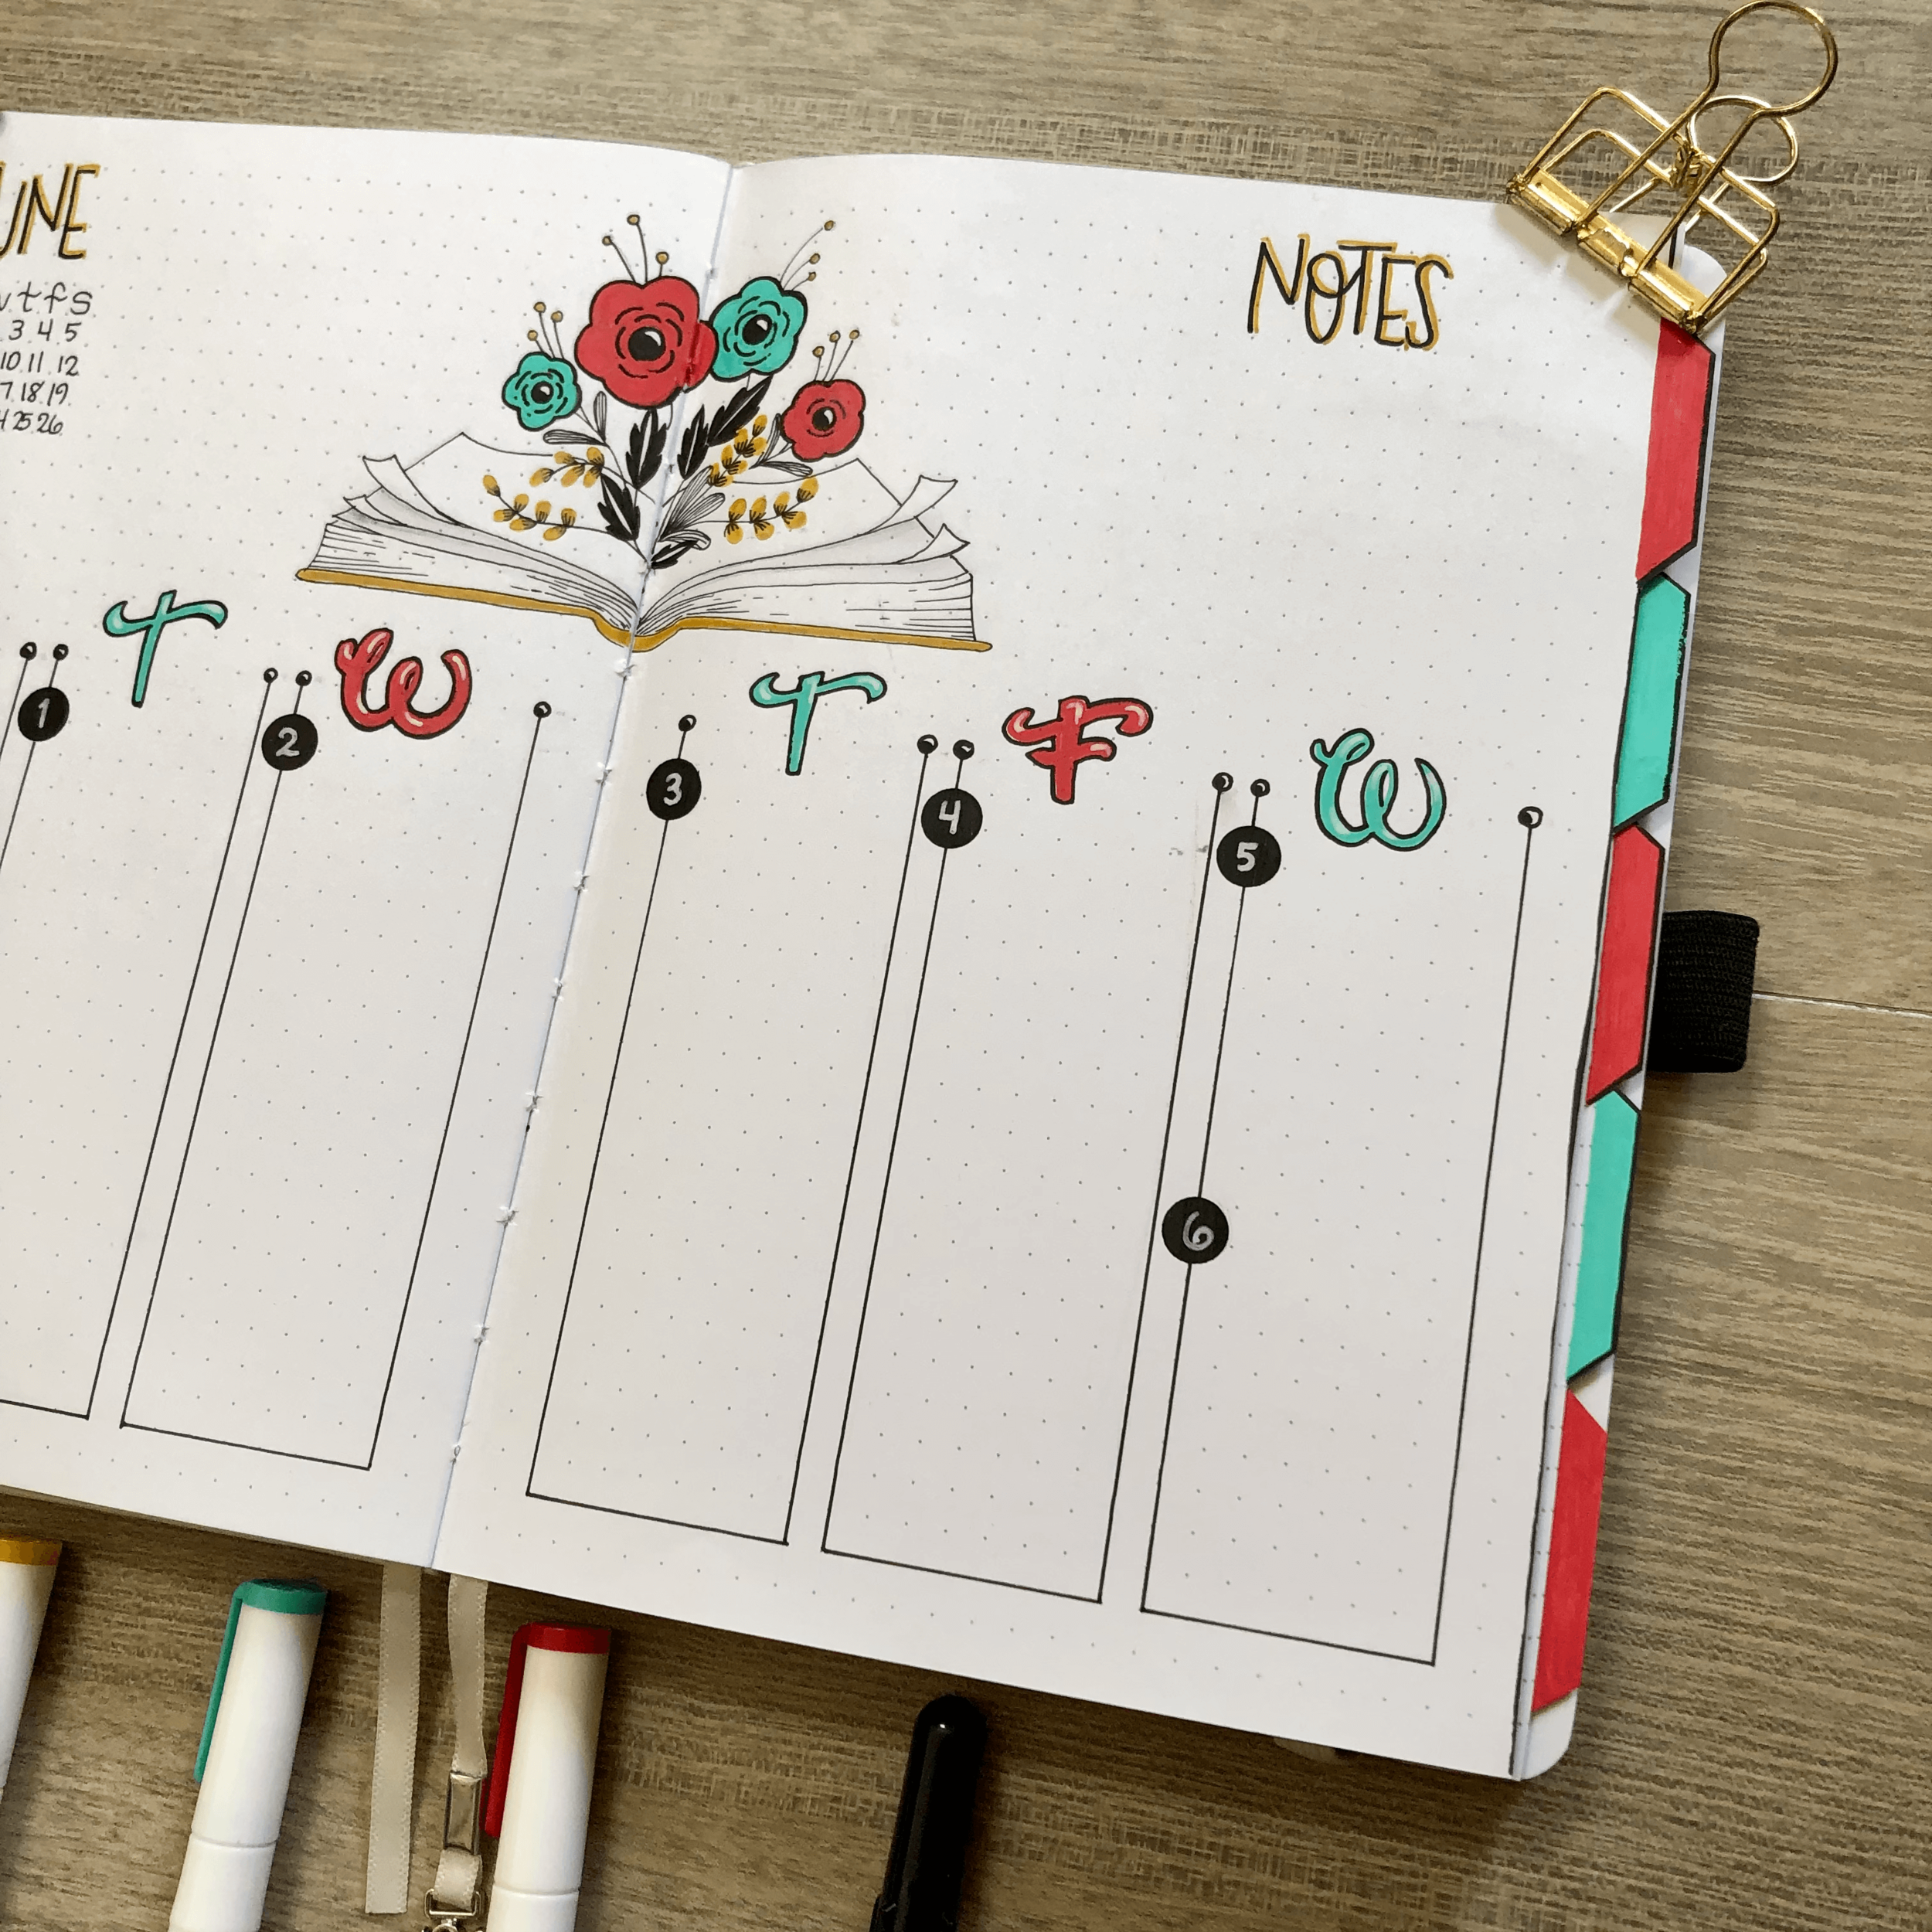
Step 3: Decorate Your Tabs (Optional)
Now it’s time to decide if you want to have a specific look to your tabs. What is going to be most helpful for you? Do you want to have the dates on the tabs? Maybe you want them to say, “Week 1,” “Week 2,” and so on. I like to add alternating colors to them so I can see the tabs clearly and add a nice touch to my spreads. (See below) You can also add washi tape to them and just trim it to fit if you like washi tape.

Choose what will work best for you! I love this tab system because it helps me find pages easily and helps me to feel more organized.
Easy DIY Planner Tabs Using Wasi Tape
This style of planner tabs is definitely less work, and it is also a less permanent option. Washi tape can be removed easily if you decide you no longer want it on the page, so there is less commitment than cutting your pages.
Step 1: Choose How You Want Your Tabs to Look
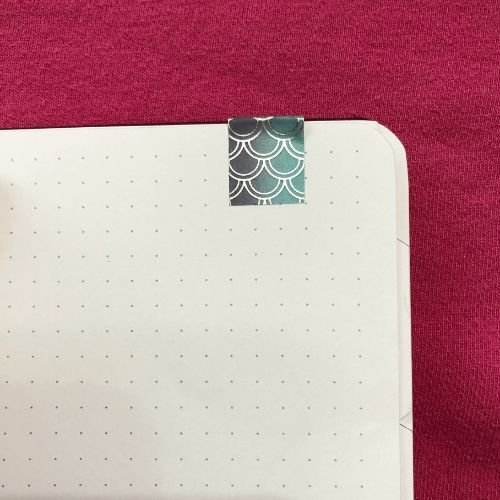
With washi tape, you can create tabs in a few different ways. You can choose to create small tabs or long tabs, tabs that stick out from the page slightly, or tabs that hug the page. Play around with it to see what you like best!
Keep reading to see patterns.
Step 2: Adding Your Tape to The Pages
Now that you have decided cut four pieces of washi tape the same size.
Add the tape to your pages one at a time, starting with the first page. When you add tape to the following pages, move the tape down on each page that follows so you can see the page tabs easier.

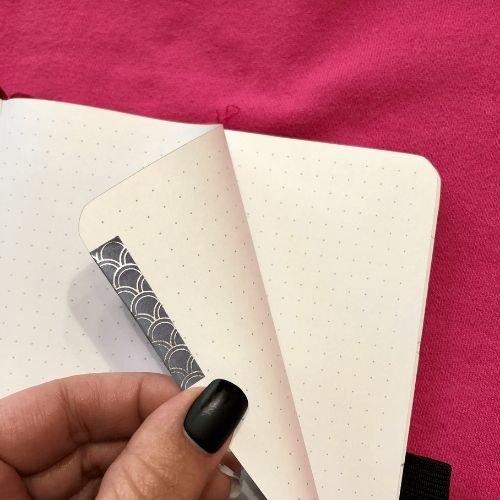
That’s it! Easy washi tabs for your bullet journal.
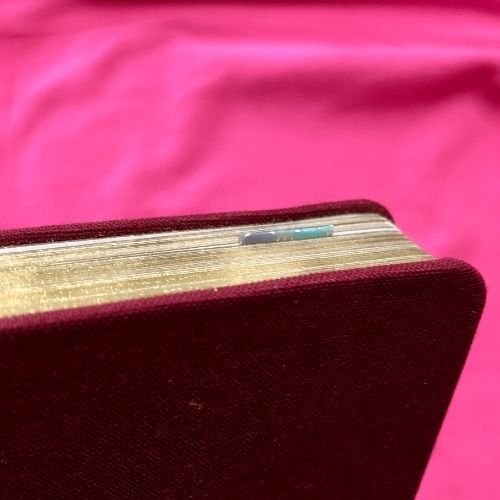
Tip: I really like folding washi tape over the edges of the page. You can see the tape on the edge of the pages when your journal is closed! You can combine both tab styles so that you can see your tabs whether your journal is open or closed.

Wrapping UP
Thank you for joining me today to create DIY tabs in your planner! I hope you liked these ideas and found them helpful. Don’t forget to Pin this post to come back to later! Or, if you know someone who would love this post, you can share it with them too!
I hope you were inspired today and a little tip to bring more joy to your journaling.
See you next time!